
Push or Clone your Android sources to and from Bitbucket in 5 easy steps, no plugin required. For the pictures bellow the Android Studio version is 1.5.1
PUSH NEW PROJECT TO BITBUCKET:
Step 1: Enable “Version Control Integration” and select the type of the repository:

Step 2: Select your sources that you want to add to the version control and then commit changes


Step 3: Add a comment and introduce the Author name like this:
authorName <authorEmail@yourEmail.com>

Step 4: Introduce the URL and password of your Bitbucket repository:


Step 5: Push changes to Bitbucket repository
CLONE PROJECT FROM BITBUCKET:
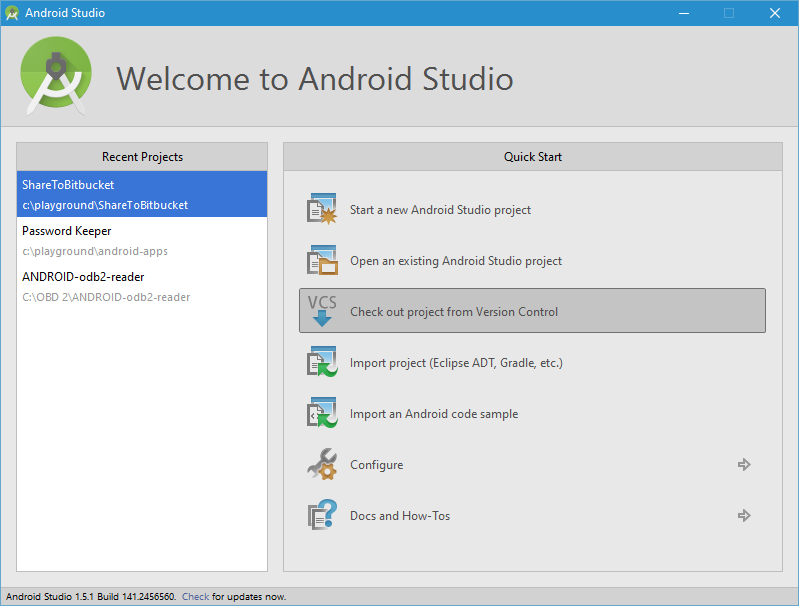
Step 1: Start Android Studio and click “Check out project from Version Control”
 ”
”
Step 2: Enter the Bitbucket repository URL in the Git Repository URL

Step 3: Enter the local folder where to clone the repository

Step 4: Enter the Bitbucket repository password

Step 5: Click No when asked to open the project after the checkout


I like this blog! I used eclipse to develop Android projects, but now I’m using Android Studio and this article is what I need to upload my projects on Bitbucket. 🙂
LikeLike